Installation & Setup
After downloading the Secure Check Printing installer:
01
Locate the setup file (usually in your Downloads folder).02
Double-click to start the installation.03
The setup wizard will appear — simply follow the on-screen instructions.
Before the installation begins, you’ll be asked to agree to the User Agreement.
01
Read through the terms carefully.02
Click “I Agree” to continue.03
The installation will then begin automatically.
Installation takes only a few seconds and requires no additional software — everything runs offline.
01
Once finished, the setup wizard will display a “Finish” button.02
Click Finish to close the installer.03
You can now find a shortcut icon named Secure Check Printing on your desktop or in your Start Menu.
01
Launch the application.02
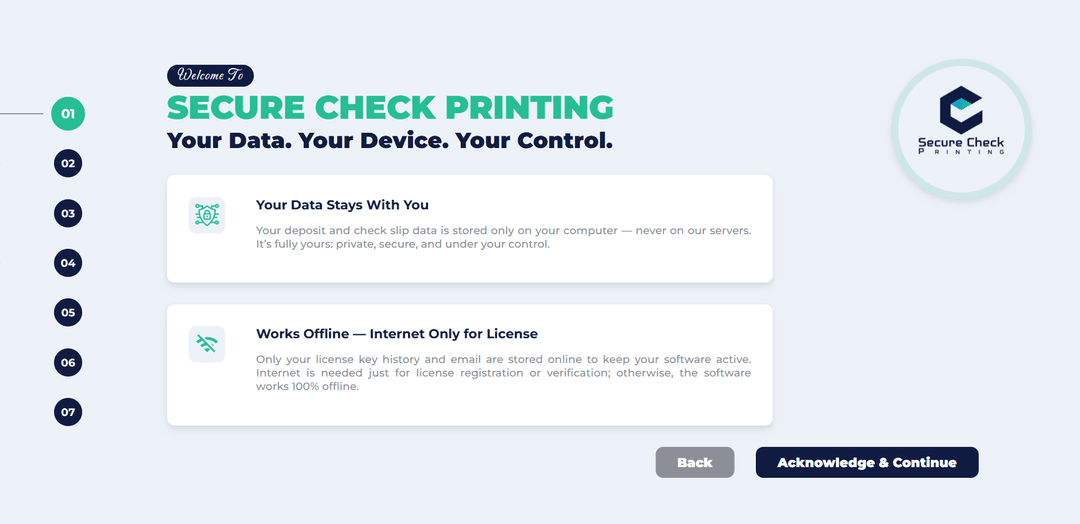
When opened for the first time, the software will display a Welcome Tour that walks you through seven short panels explaining the key features.
During the Welcome Tour:
01
Panel 5 shows the Terms & Conditions.02
Panel 6 shows the Privacy Policy.03
Please review both carefully before proceeding.
At the final panel, you’ll see two options:
01
Activate License — for users who purchased the full version.02
Start 10-Day Trial — for demo users who want to explore the software.
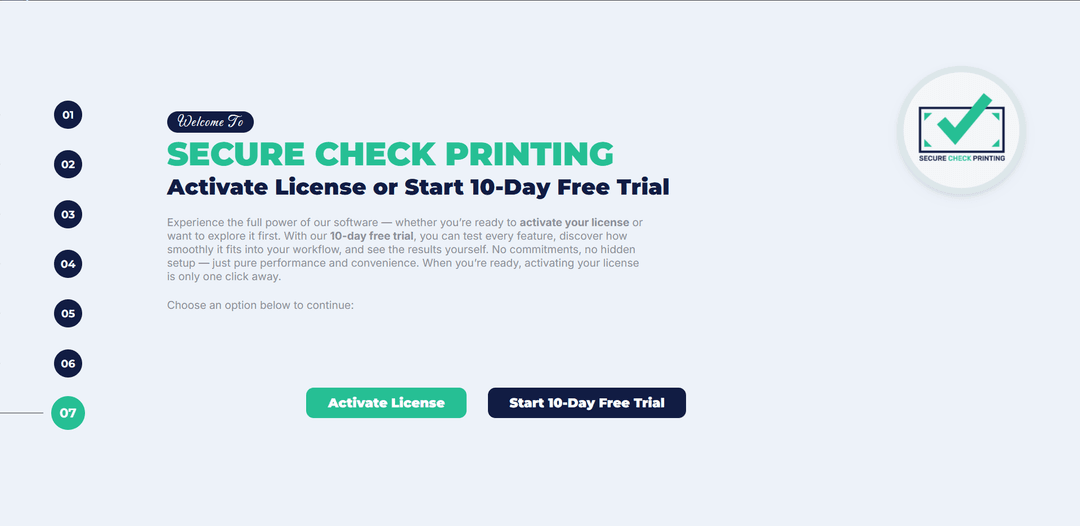
Choose your preferred option to proceed to the Registration Page.

